The FrankenNAS
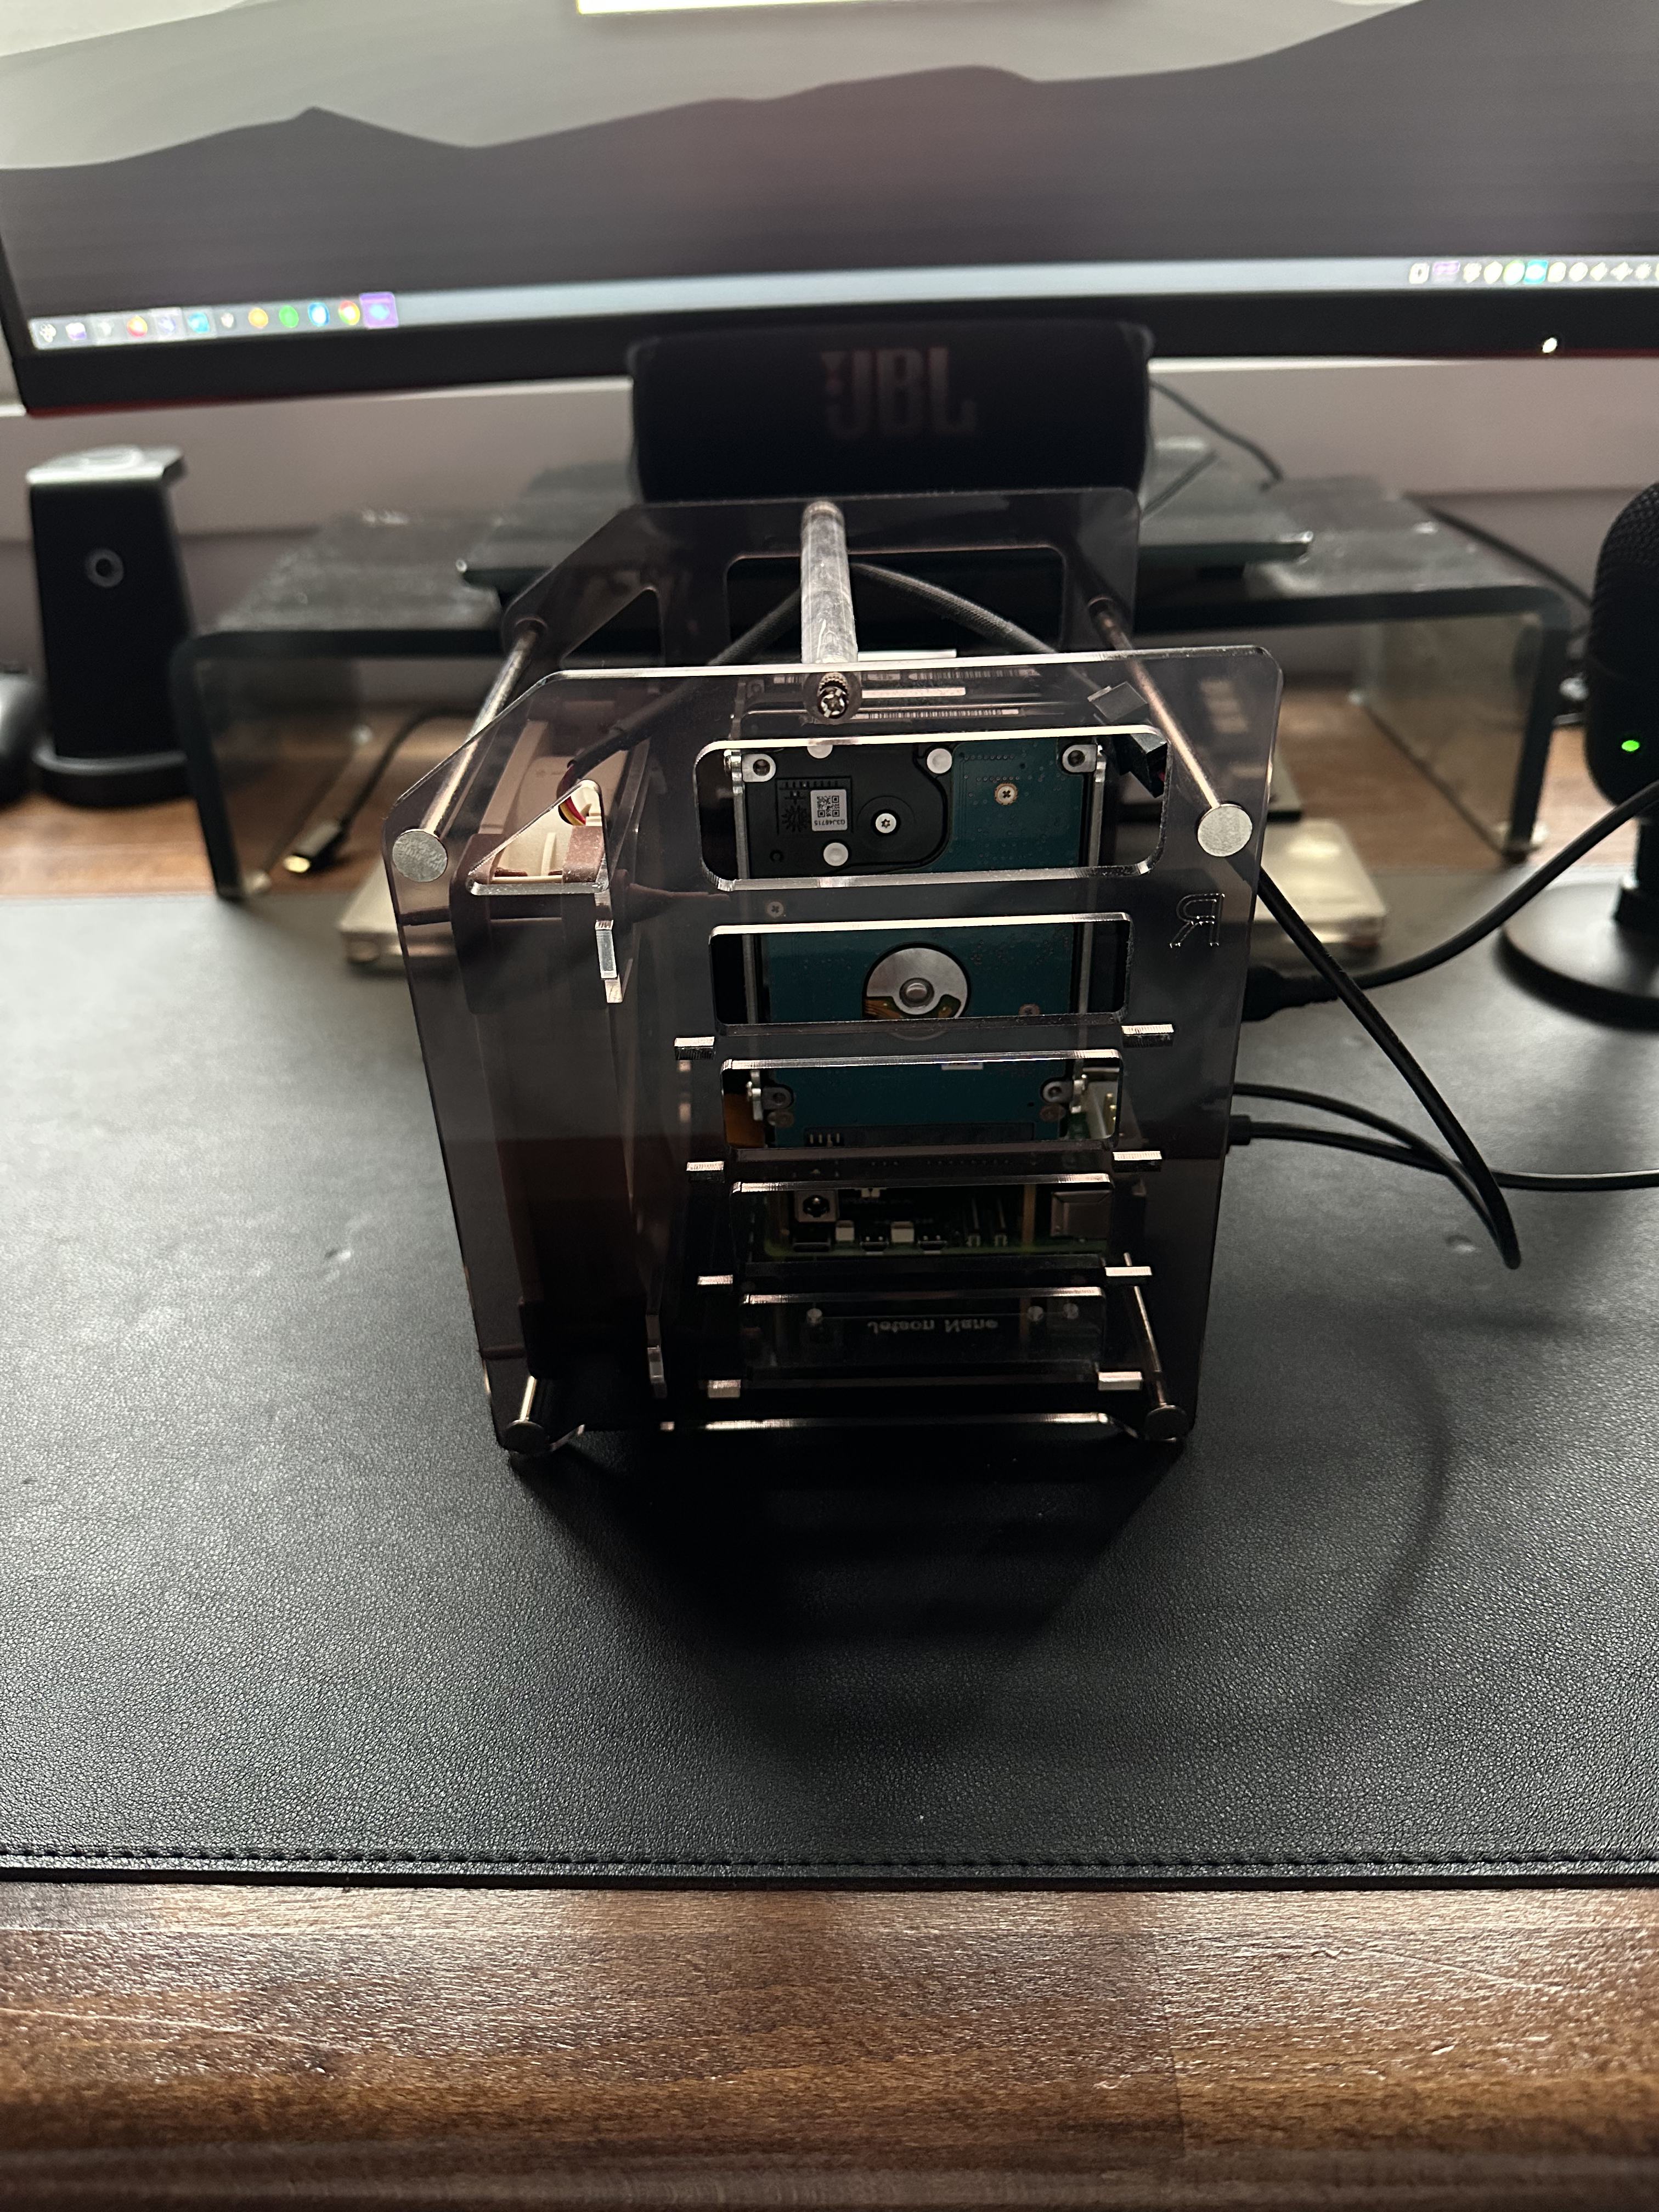
After cleaning through the drawers of my office, I found quite a few old HDDs from older laptops and a Raspberry Pi 5. So, I thought to myself, “Why not try to build a NAS with that?”
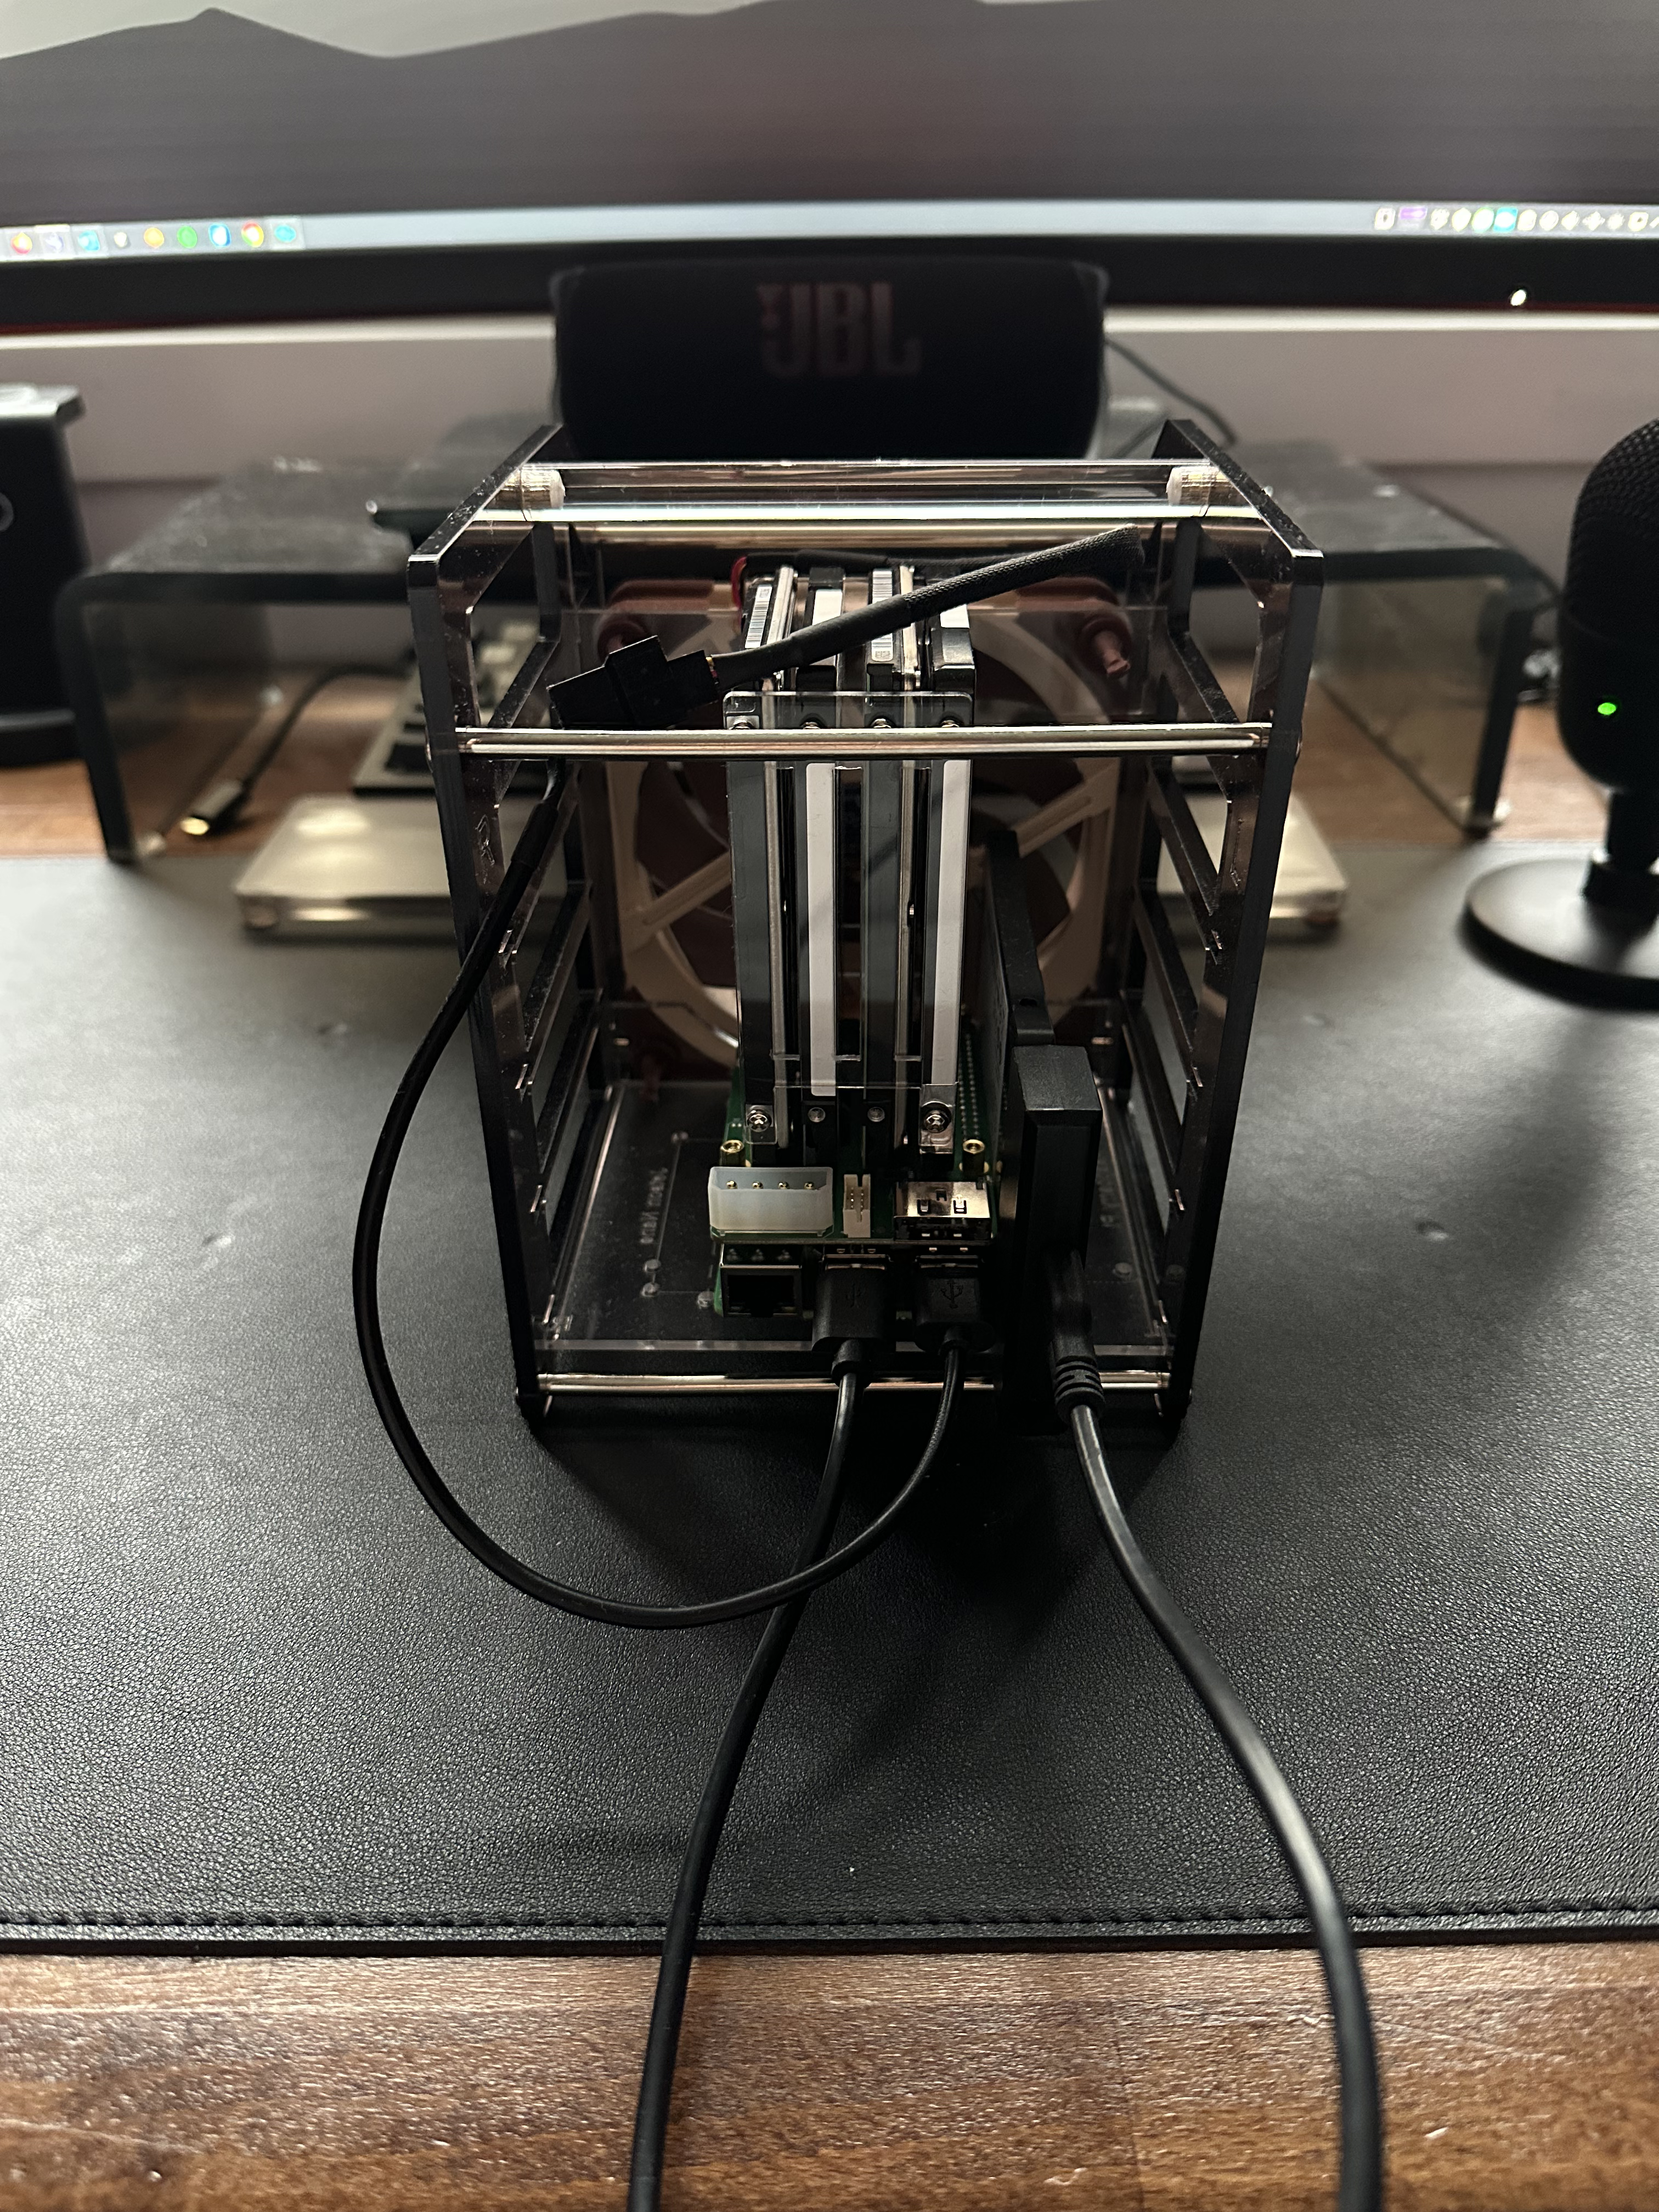
I could have just built a NAS by connecting the drives via USB, but I didn’t like that idea. Instead, I got the Radxa Penta SATA HAT.
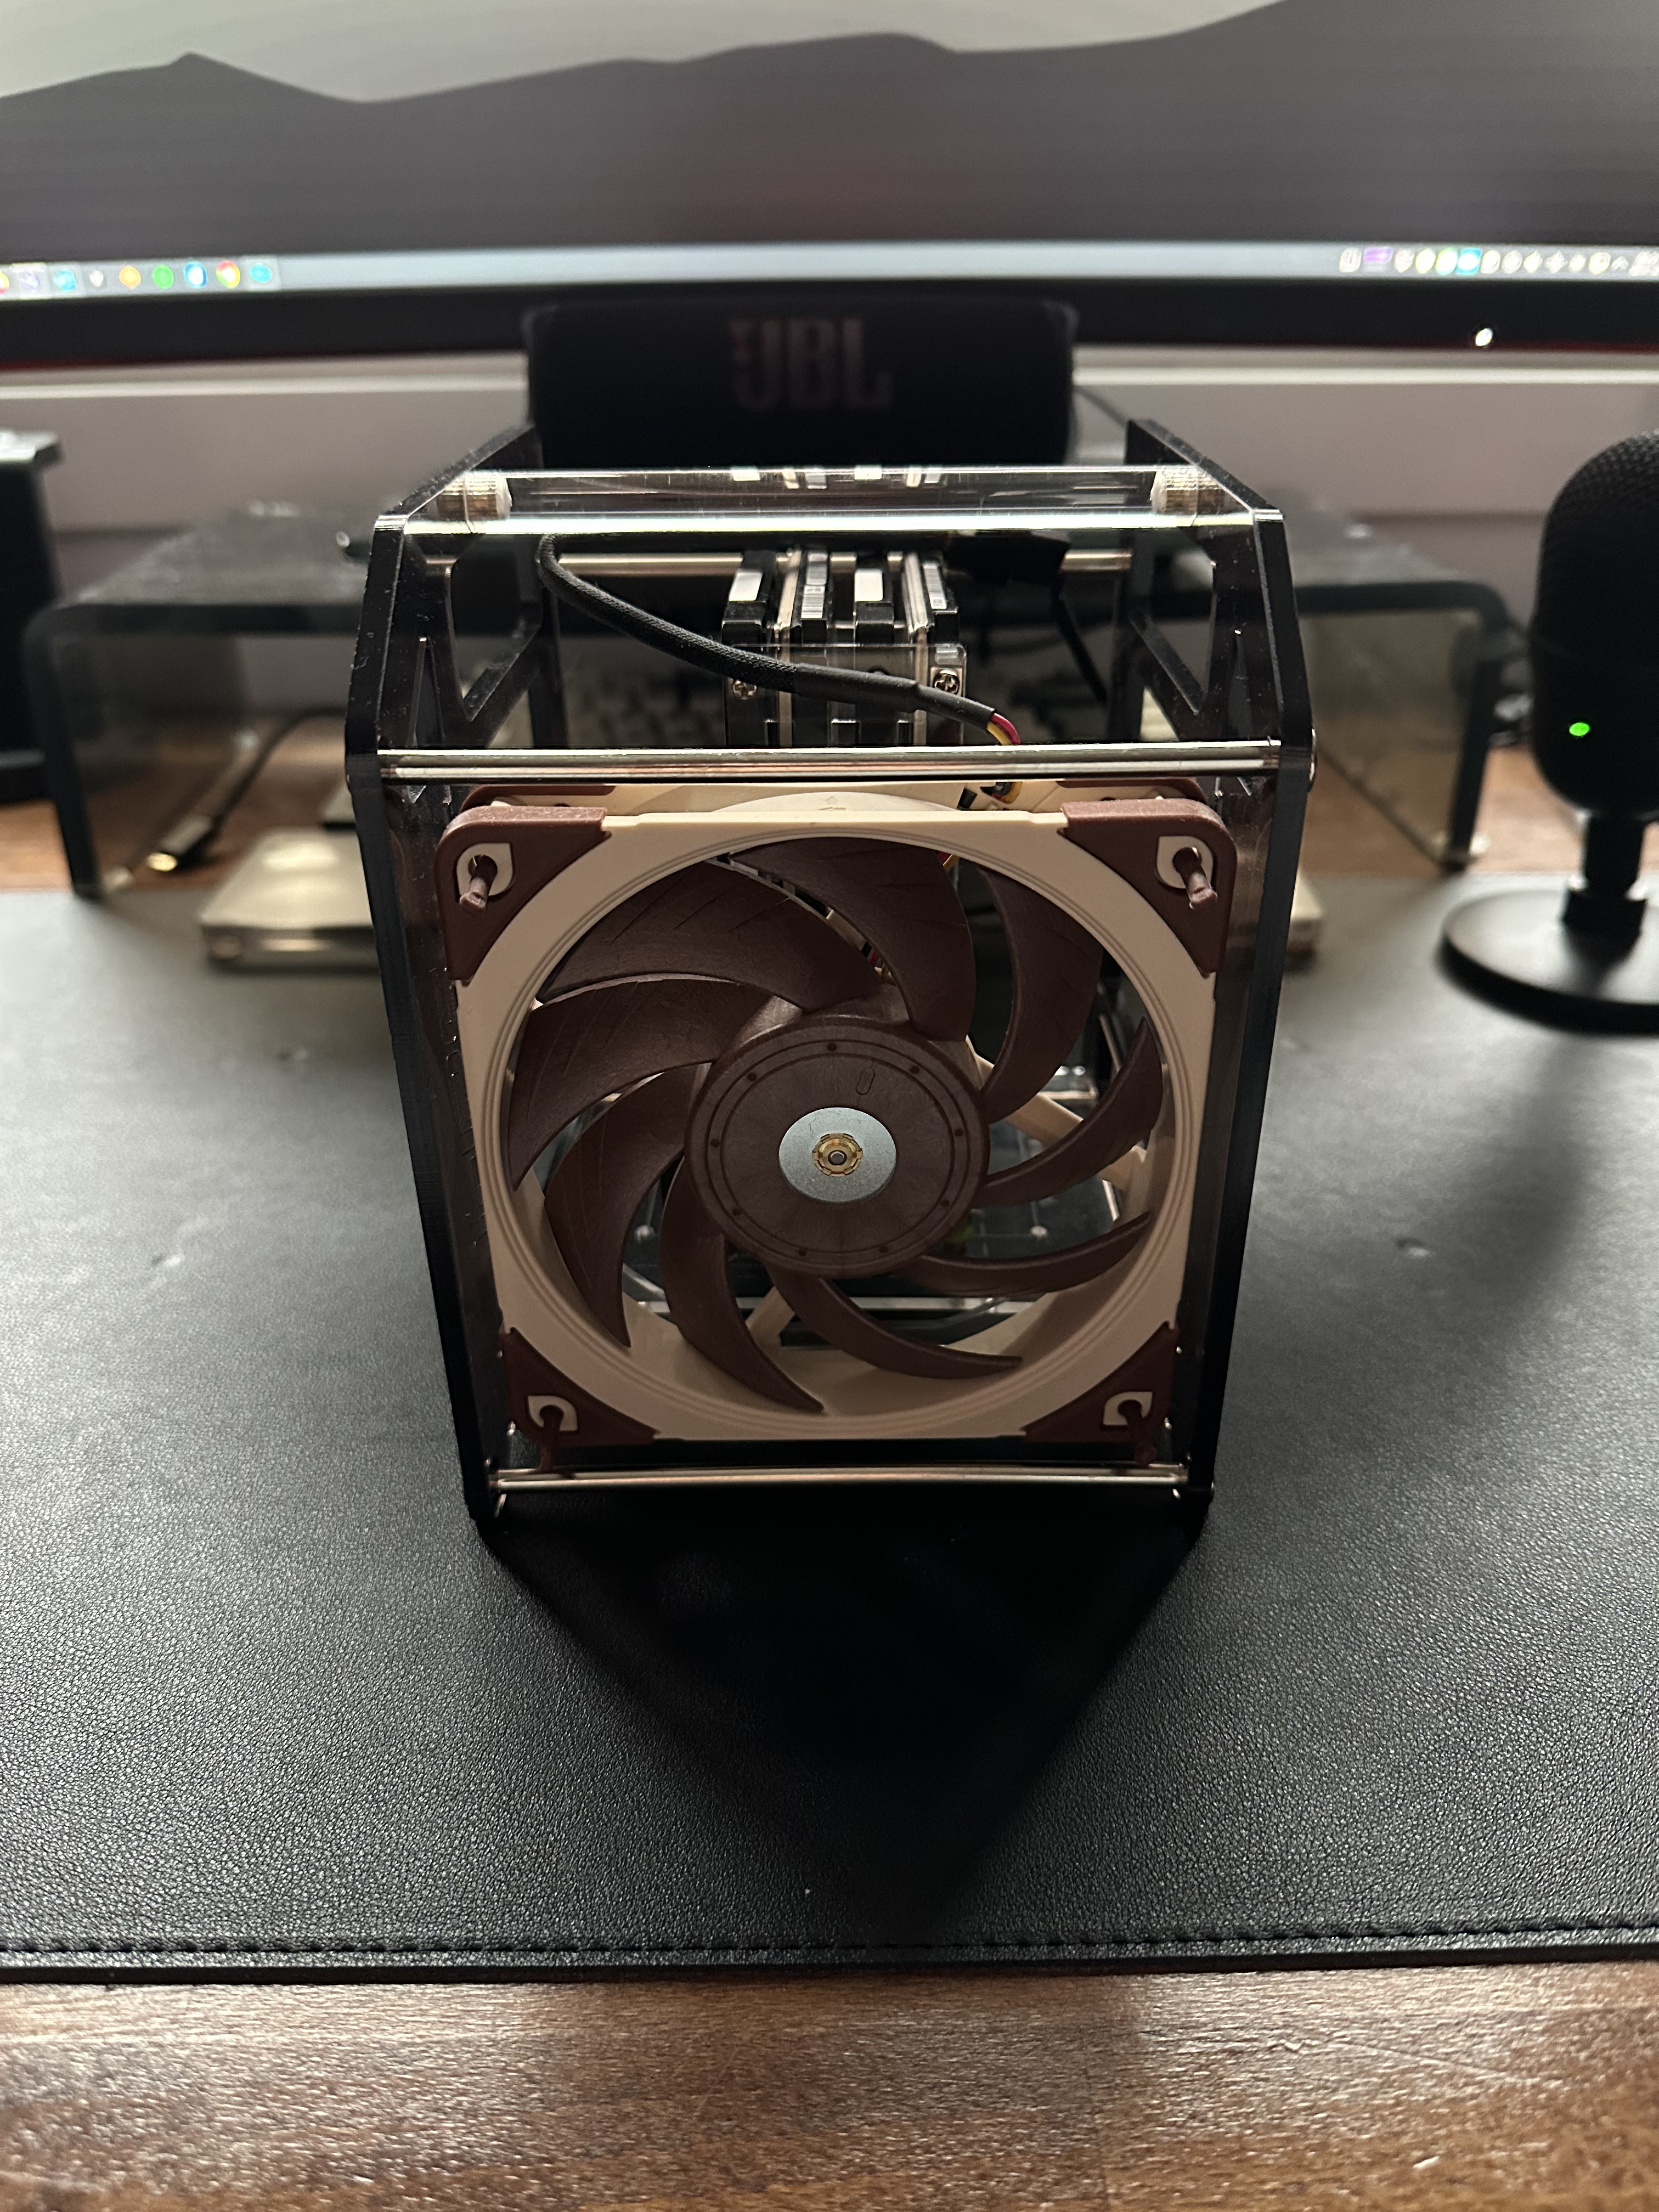
As a case, I used the Geeekpi Cluster Case but opted for a Noctua fan instead of the original one, as the original was a bit loud.
For the system drive, I used an SSD connected via USB. I had to change the boot order on the Pi for that. In the Pi Imager, you need to choose:
Misc utility images -> Bootloader (Pi 5 family) -> NVMe/USB Boot,
and then boot up the Pi with the SD card inserted.
With that, I ran into my next problem. Having the SATA HAT and the USB SSD connected caused my Pi to complain about insufficient power, even though my power supply’s output should have been more than enough. I had to adapt /boot/firmware/config.txt as follows:
[all]
usb_max_current_enable=1
After that, the Pi booted up normally. To run the Penta HAT, I had to add more configuration in /boot/firmware/config.txt:
[all]
dtparam=pciex1
dtparam=pciex1_gen=3
usb_max_current_enable=1
Next, I formatted the drives with btrfs and ran my first connection tests. The results were… poor. My connections kept stalling. I tried ext4, but the situation didn’t improve.
After watching a similar project by Jeff Geerling, I decided to ask him which filesystem he used in his build. He used zfs. Here’s the video in question: The ULTIMATE Raspberry Pi 5 NAS.
After rewatching the video, I realized he explained it there, and it was absolutely unnecessary for me to ask…
To set up ZFS, I followed these steps:
sudo apt update
sudo apt install zfsutils-linux

sudo wipefs -a /dev/sda
sudo wipefs -a /dev/sdb
sudo wipefs -a /dev/sdc
sudo wipefs -a /dev/sdd

sudo zpool create Homes /dev/sda
sudo zpool create Movies /dev/sdb
sudo zpool create Docker /dev/sdc
sudo zpool create Data /dev/sdd

sudo zfs set compression=on Homes
sudo zfs set compression=on Movies
sudo zfs set compression=on Docker
sudo zfs set compression=on Data

sudo zfs set mountpoint=/mnt/Homes Homes
sudo zfs set mountpoint=/mnt/Movies Movies
sudo zfs set mountpoint=/mnt/Docker Docker
sudo zfs set mountpoint=/mnt/Data Data
After this, SCP copies ran smoothly at 100 MB/s.
🤔 Conclusion
The Raspberry Pi is a viable option for a NAS if you enjoy tinkering. It won’t give you the fastest experience, but its power draw is very reasonable. It uses around 8 watts at idle and 13 watts under heavy load.
💭 Future Ideas
I’d like to benchmark it against my current NAS. Some of the disks are quite old already (e.g., the system drive from a 2009 MacBook Pro), so I’ll need to replace them at some point. Additionally, I might remove the SSD as the system drive and add a 2.5G USB network adapter.
📸 Pictures