Timemachine Backup to Samba
I got myself a MacBook Pro for my birthday this year and wanted to ensure proper backups with Time Machine in case anything happens to my laptop.
Here are the steps to configure Ubuntu to serve shares that are compatible with Time Machine:
Step 1: Install Required Packages
First, install Samba and wsdd-server to enable Time Machine compatibility and make the server discoverable on the network:
sudo apt install wsdd-server sambaNext, check if the required Samba modules for Apple file sharing (catia and fruit) are installed:
smbd -b | grep VFSIf catia and fruit are missing, ensure you have a recent version of Samba.
Add a Samba user (replace YOUR-USER with your username):
sudo smbpasswd -a YOUR-USERStep 2: Configure Samba
Edit the Samba configuration file to set up your Time Machine share:
sudo vim /etc/samba/smb.confReplace or append the following content:
[global]
  workgroup = WORKGROUP
  server string = nas
  log file = /var/log/samba/%m.log
  max log size = 50
  map to guest = Bad User
  usershare allow guests = yes

[TimeMachine]
  path = /WHEREVERYOURBACKUPSHOULDBE/TimeMachine/%U
  read only = No
  vfs objects = catia fruit streams_xattr
  fruit:time machine max size = 0
  fruit:time machine = yes
  fruit:resource = stream
  fruit:metadata = stream
  browseable = yes
  writable = yes
  valid users = %U
Explanation of Key Options
fruit:time machine = yes: Marks the share as Time Machine compatible.fruit:time machine max size = 0: Sets no size limit for the backup. Adjust this as needed (e.g.,1Tfor 1TB).valid users = %U: Ensures only the logged-in user can access their Time Machine share.
Replace /WHEREVERYOURBACKUPSHOULDBE with the actual path where you want backups stored.
Step 3: Enable and Start Services
Start and enable the Samba and wsdd-server services so your server is discoverable:
sudo systemctl enable --now wsdd-server smbd nmbdStep 4: Configure Time Machine on macOS
Open Finder and navigate to the Network section. You should see your server listed here.
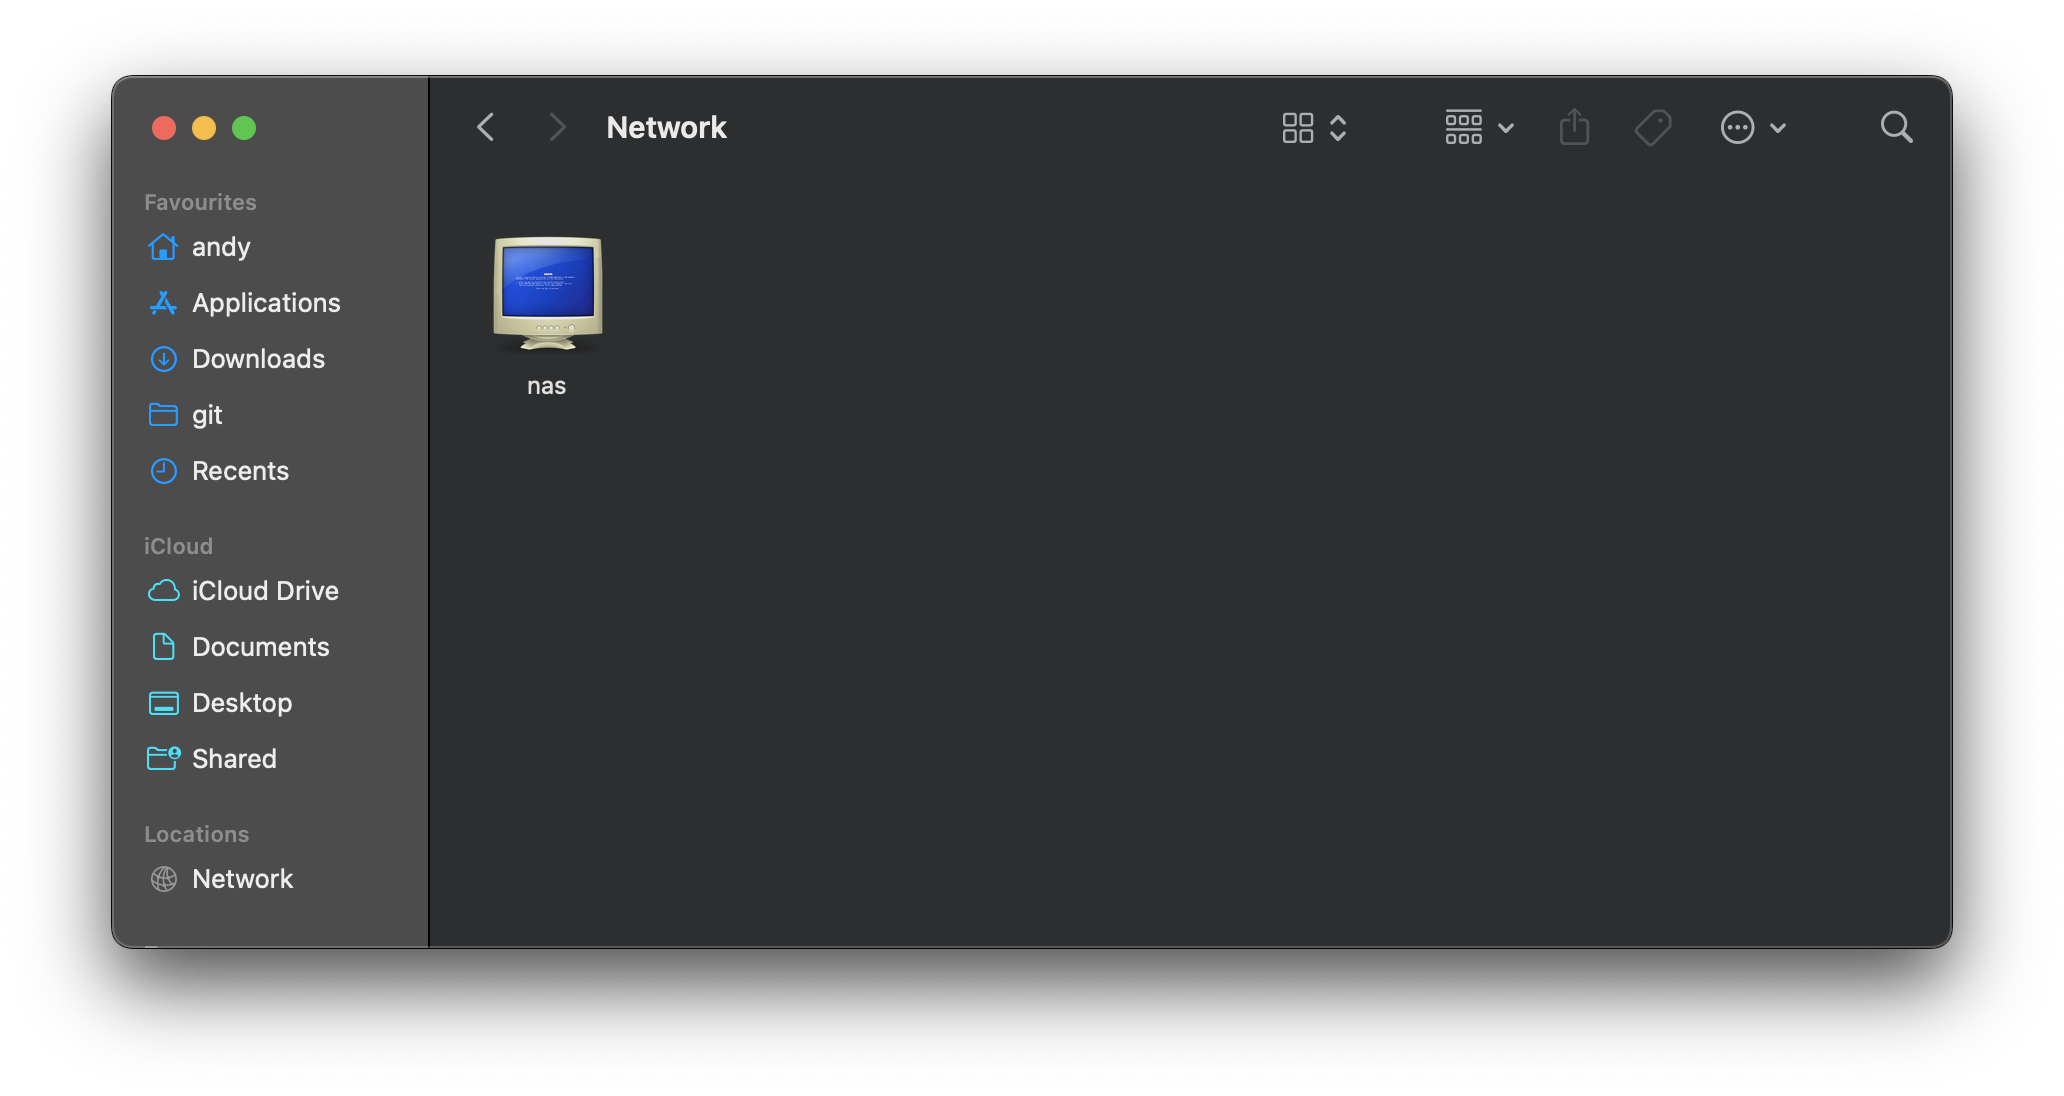
Open the
TimeMachineshare and authenticate using the username and password you set earlier.Open System Settings > Time Machine and click Add Backup Disk…. Select the
TimeMachineshare from the list.
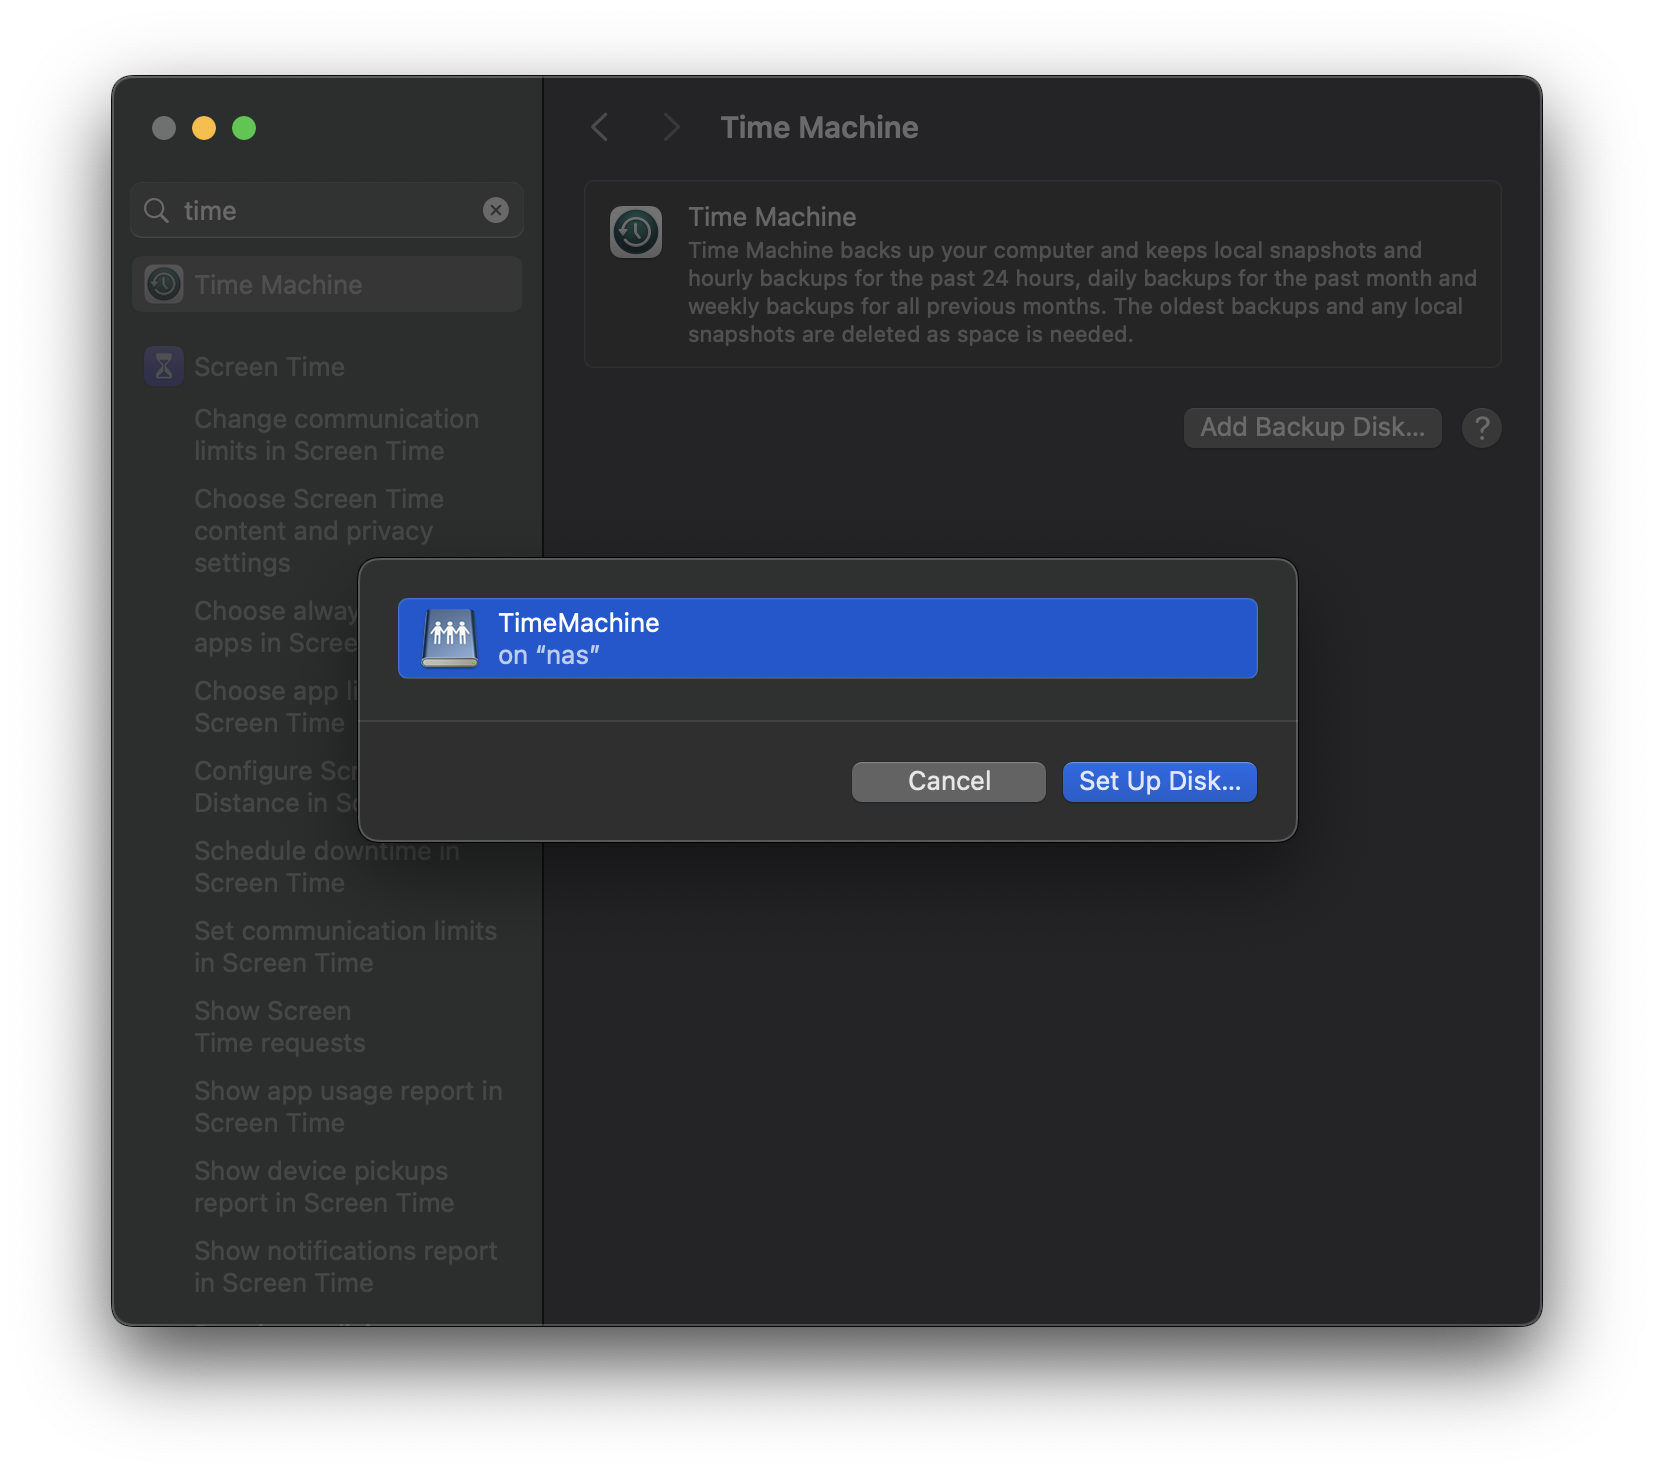
Authenticate again with your Samba username and password.
That’s it! Time Machine should now use your server as its backup destination.